Lotus Europa S1: Rear Crossbar
Hi everyone,
I’ve been working hard lately and I’m making progress! This update will tell you all about the repairs I had to do to the rear crossbar and some of the improvements I made to the rear Y-section of the chassis.

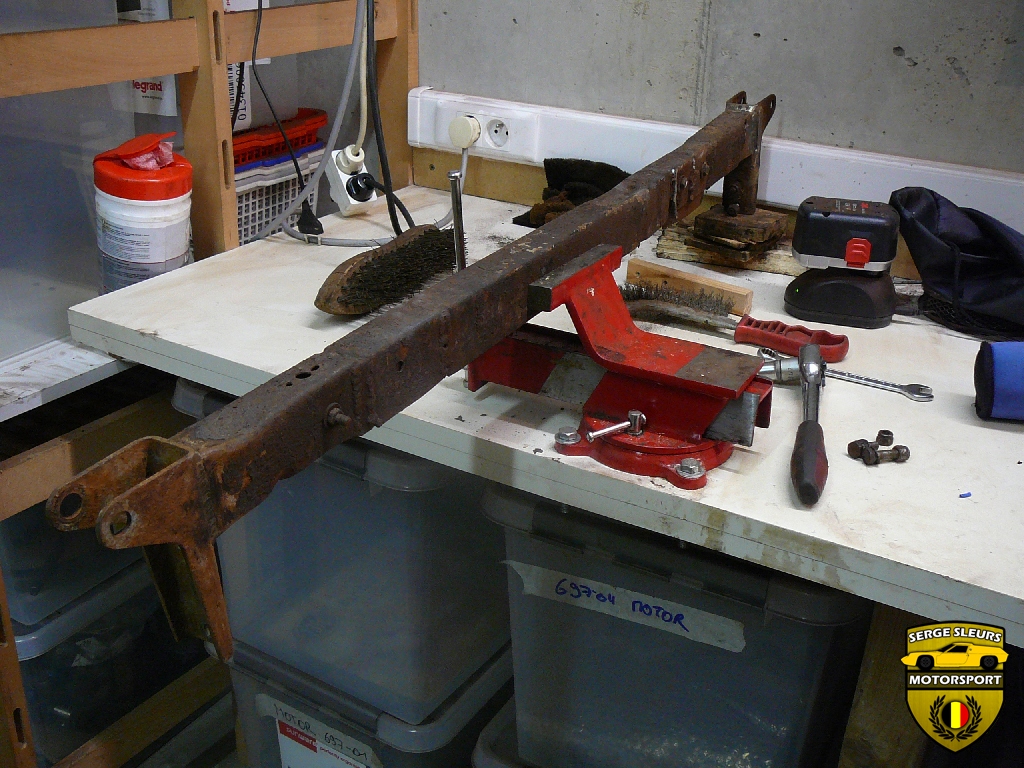
This is the original rear crossbar that I unbolted from the chassis, as you can see it’s in terrible condition.

I decided that the best thing I could do was to salvage the shock-mound end-pieces and replace the crossbar itself.

In this picture you can see what’s left of the original crossbar, it’s completely crooked and has been repaired quite a few times. I had to cut off a make-shift battery-mount that was welded on there.

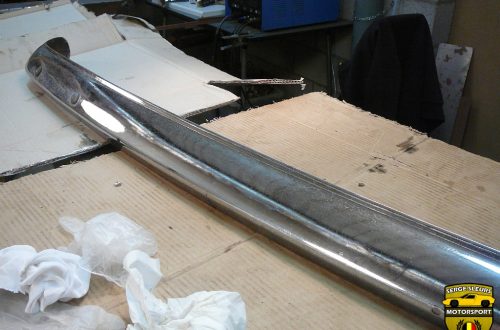
The original crossbar was made out of a U-shaped channel. Because this is quite fragile I will replace this with a closed box-section, this will also aid rigidity.

This is the box-section that I will be using, it’s 30mm x 50mm with a thickness of 2mm.

I managed to save the original shock-mounts that were brazed on the original crossbar and these will clean up just fine.

Next, I bolted the shock-mounts to the chassis, used some sockets to space the box-section from the chassis and made sure everything was level.

Another thing that I did, to make sure I would be able to remove the crossbar once everything was welded, was to add some washers between the outside of the chassis and the shock-mounts. This was to leave some spacing for shrinking due to welding and also for the paint layers that will be added later.

Then I tacked the crossbar to the shock-mounts.

This is the crossbar completely welded and looking good.

My TIG welding is getter better every time.
Another thing that I haven’t done to the crossbar yet, is making the centre-section removable. This will make engine and gearbox installation and removing much easier, because if you need to take the engine out with the standard configuration, first you have to take apart the rear suspension. With my modification it will be possible to leave the car standing on it’s wheels while taking the engine out.

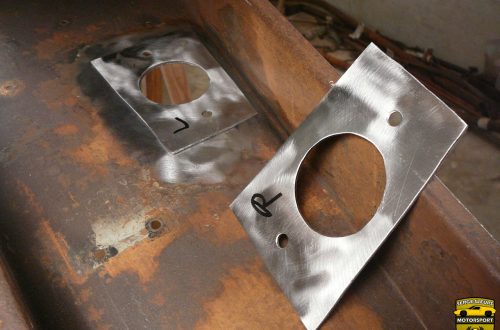
These strengthening plates, on the rear Y-section of the chassis, are brazed onto the chassis. But there was some rust forming and the plates had seen better days.

So I took the strengthening plates off.

And I made my own, working from the original dimensions.

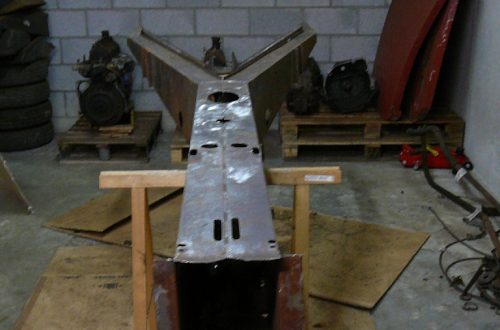
While these plates were off, I had perfect access to the inside of the chassis. On this side of the chassis you can see another non-original modification made by one of the previous owners or maybe by the factory? (it was done quite nicely) There were some plates added that need to reinforce the joint between the two rearmost parts of the chassis. I have replicated these plates on the other side of the chassis. These plates are there for a reason, because I also had to repair some cracks along the weld-seam of these chassis sections.

One of the improvements that I made on this part of the chassis, was welding the nuts for attaching the shock-mounts to the back of the chassis. I did this because bolting and unbolting the crossbar to the chassis is a real pain, getting a wrench in between the chassis, behind the strengthening plate is almost impossible and it’s a 10 minute job that takes at least an hour. Now you can just bolt the crossbar in from the sides. Notice that I’m not welding nyloc nuts to the chassis, this is because the nylon in the nuts will start to melt when you’re welding them on.

I’m painting the unreachable parts of the chassis.

As well as the backsides of the strengthening plates.

Here you can see the new strengthening plate welded on, in the back you’ll see the plates that I recreated to reinforce the joint between the chassis sections.

This is an example of some of the repairs that I made to the chassis.

This was a piece of the folded-up edge that has damaged that I repaired.
Well, this was the update for today. I have done a lot more work, so expect some more updates soon, I just have to find the time to upload the pictures.
I hope you enjoyed it,
Serge