Lotus Europa S1: A place to work
To be able to restore a car, you need a workshop, preferable a large garage where you have all the room and tools in the world. I had neither.
That is, until recently! I was lucky to have a family member who has an empty garage I could use, it isn’t very big, but it’s large enough to be able to walk around the car, so that’s all the space I need. I had to hang up some lights and it doesn’t have a heater, so it is actually pretty cold this time of the year. I’m hoping I get disassembly done as quick as I can so I can do all the mechanical work in my new workshop!
My workshop started out as a basement room full of clutter, I spent two days going through a load of boxes full of old books and there were even some building materials left from when our house was built 17 years ago.
Here you can also see some of the parts that came with the car, a couple of baskets full of indicators, mirrors, cylinder-head bolts, tappets, etc.


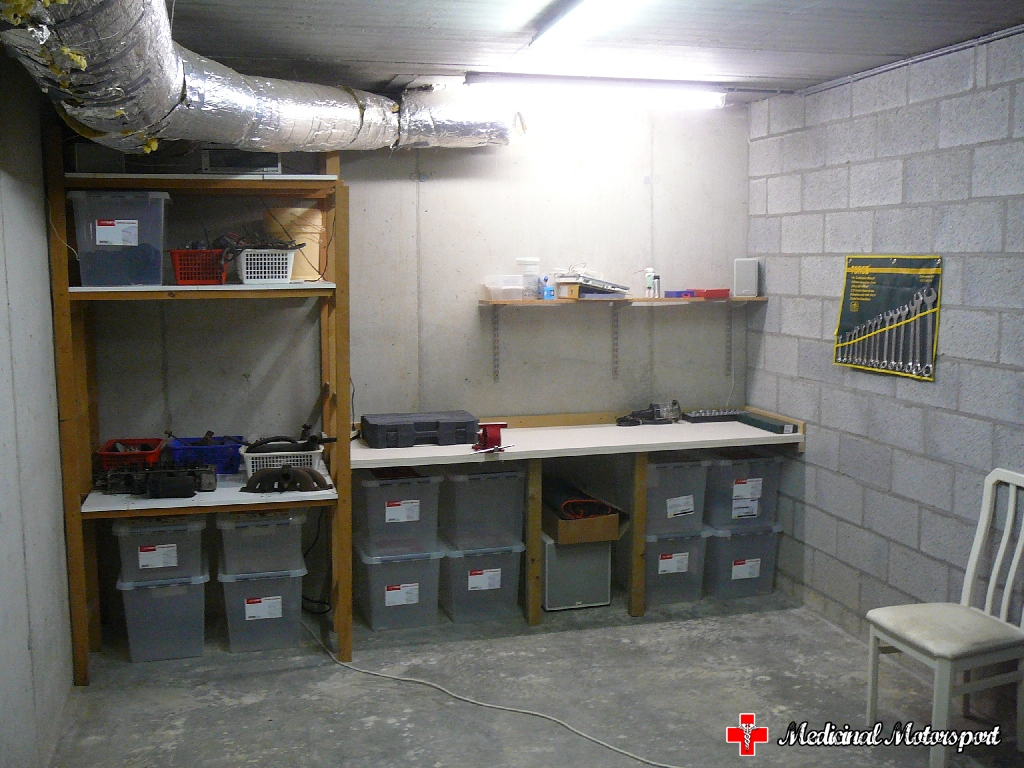
Once it was cleaned up and all the cobwebs were removed, it was actually a good size room. The only thing missing was a work bench and some shelves to put all the parts I would be taking off the Europa.


Luckily we had a lot of scrap wood we saved for some reason. Everything I needed to build me a workbench was there. It took me a couple of days, but I like the result!


I also hung up another light to minimize the shadows on the workbench. The only thing missing are some more wall-sockets, but I’m working on those. I’ll have to make due with an extension-cord for now.


Music in the workshop is a must, so I took an old amplifier I had stored in the attic and connected them to an old set of speakers with a sub-woofer. My dad had a lot of plastic crates that he wasn’t using, so now they’re mine!

Last but not least, my tools arrived! A set of SAE sockets, wrenches and a breaker bar.

And a tool set with some wrenches, sockets and screwdrivers. I also bought a portable work light. I’ll have to buy more tools as I get further into the restoration.

In the next post we’ll finally begin disassembly!