Lotus Europa S1: So Many Jobs, So Little Time
Hello everyone,
It’s been a while since my last update, I had a very busy summer, but I did manage to get some work done on the Europa. This post won’t be very in depth, because I will show you a lot of jobs that I have been working on, and am still working on. So these pictures here will be teaser pictures for upcoming posts.

I think I have mentioned my new rust removal process in the past, but I wanted to show you some pictures of how it works and what the results are like. So what you see here are my two front calipers, badly rusted as you can see.

First get some ordinary vinegar and heat it up, the hotter it is, the better the acidic reaction will work. Brush off the loose rust off your parts with a wirebrush, this isn’t necessary, but it will help the reaction. Then just put your rusted parts in a bucket with the hot vinegar and leave them in overnight.

Now, take your parts out of the vinegar and rinse them off with water, then use a wirebrush to brush off all the rust, it will just brush off as if it was just dirt. Rinse it again and repeat if necessary. For heavily rusted parts you might need to put it back in the bucket of vinegar for another night. In this picture you can see the two calipers, the one on the left has been in the vinegar and then wire brushed and the one on the right is post-vinegar but pre-wirebrush. My calipers are completely dismantled, I have had to push out the stuck cylinders with a grease gun and I’ve received special high temperature paint to make them look good again. I’m also ordering parts to replace all the seals and cylinders.

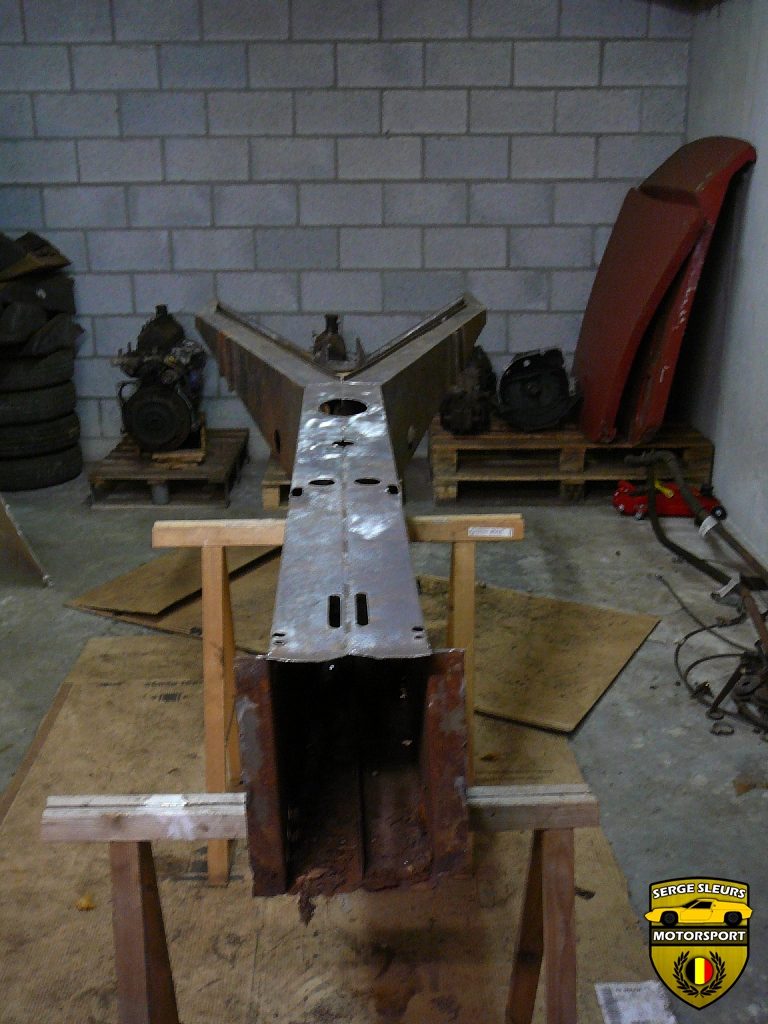
Another thing I did this summer was removing the front T-section of the chassis, this way I could asses the damage better and plan ahead what and how I was going to repair the chassis.

There is a fair amount of rust and I will be replacing a large part of the central tunnel.

The front T-section is the worst part, I will have to salvage a couple of pieces from what remains, but I will be reconstructing the most by careful measurements and using the plans available on the Yahoo group.

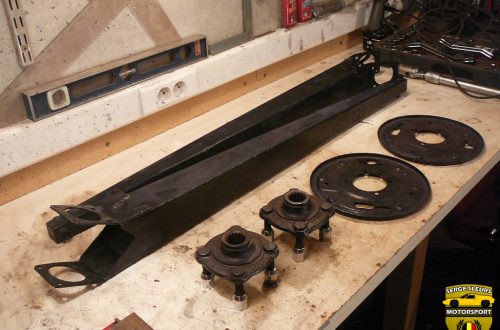
The rear trailing arms aren’t too bad, but the inner side is spot-welded on to the U-shaped section that makes up the biggest part of the trailing arm, and there was some rust between the spot-welds. The trailing arms were structurally sound, but I couldn’t stand the sight, so I have been drilling our the spot-welds to repair the trailing arm.

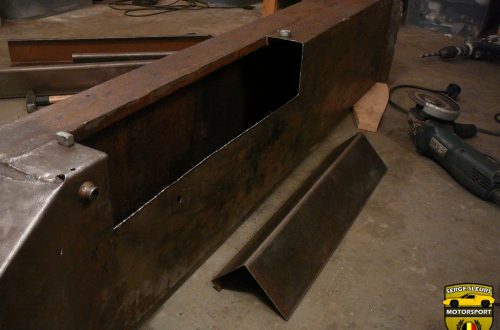
The rear cross-member had definitely seen better days, it had been repaired in the past, and had been welded up to form a battery tray. So I have cut off the shock mounts and will be replacing the U-channel with a rectangular steel box section, this will also aid rigidity I assume.

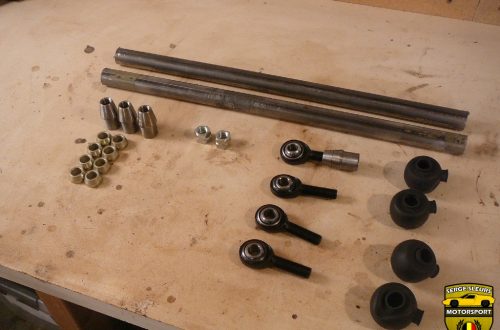
These next items are the heater, the heater fan and the radiator fan. I have disassembled everything and I’m gathering parts to reassemble them in the near future. I will dedicate an entire post on these items in the future, that way you can see the entire process.


I’ve also bought a Stahlwerk AC/DC 200A TIG welder with pulse function. It’s a machine made in China, but the company it’s made for in Germany provide a 5 year warranty with their own repair services, so I was willing to take the risk to buy a cheaper machine. It works like a treat and for a hobby user, it has more than enough functions. I’ve been able to practice a couple of hours and it isn’t as difficult as I had imagined. Having a steady hand from being a Dental student appears to be beneficial. It’s an AC/DC machine, so I will also be able to do my own aluminium fuel tanks and a stainless steel exhaust manifold and pipe.
This was the small update I wanted to share with you. Hopefully I will be updating the blog more frequently with all sorts of updates. I have a feeling we’re getting somewhere. If you have any questions or comments, please don’t hesitate to contact me!
Enjoy & Share
Serge